
Learning to sew might seem like a daunting and impossible task, but I’m here to assure you that it’s really not as difficult as you think it might be. All you need is a little time, a lot of patience and plenty of practice. Don’t be afraid to make mistakes – they’re the best way to learn. If you’re not sure where to start and if you don’t know your bobbin from your bodkin, you’re in the right place. This helpful guide walks you through the beginner sewing basics, explains some of the more confusing aspects of getting started and will leave you feeling confident at trying your first sewing projects.
Choosing a project
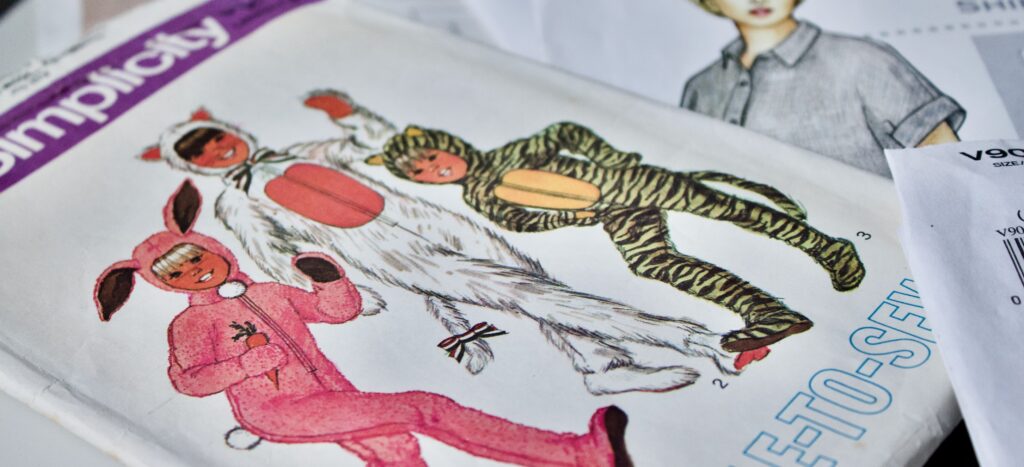
Your future sewing success really depends on you falling in love with the process of making something out of fabric and thread. When it comes to picking your first project, chose a project category that you are passionate about and find a suitable easy pattern. Whether you’re in to clothes, bags, home decor or sewing for little ones, there are thousands of patterns available and there’s something for everyone. Spend some time browsing online for downloadable, print at home patterns, visit your local fabric store and peruse the pattern catalogs or even ask friends and relatives if they have any old patterns they’re willing to part with. You can sometimes pick up extra cool vintage patterns from thrift stores or estate sales. Most patterns are marked with a difficulty level – look for something easy to start with. You’ll learn so many skills completing an easy project and you’ll be eager to try more.
Reading a pattern envelope
Now you have your pattern and you’re wondering where on earth to start. Let’s start by examining the back of the pattern envelope as that’s where you’ll find the things you need to know first. Most printed patterns come with a size range printed on the front. If you’re sewing a clothing item, check that your size range is included in your pattern.
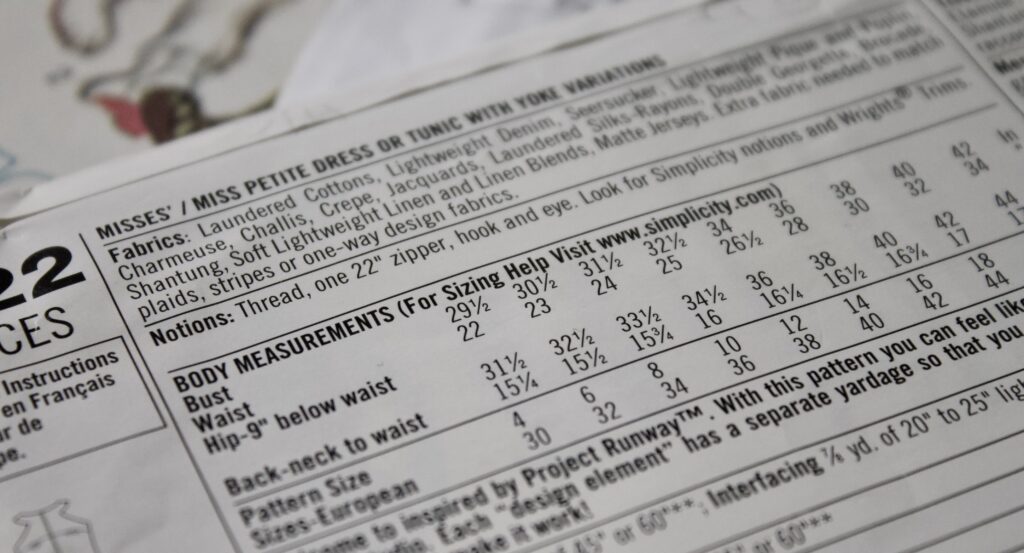
The back of the pattern envelope might appear daunting at first glance, but this is where all the information you need about sizing, fabric choices and any extra supplies you might need. It looks overwhelming, especially because it’s often printed in a couple of different languages which can cause confusion. It may help to grab a highlighter and highlight the important bits you need because chances are, you’ll be glancing at this information many times as you prepare to start your project.
If you’re sewing a clothing item, you’ll want to take note of the following :
BODY MEASUREMENTS
It’s not always the best idea to pick your regular store bought size and assume that will be your pattern size. We all know there’s a huge variation in sizes from store to store. Take your own measurements using a flexible tape measure and store them on your phone for handy reference. With your measurements to hand, you’ll be able to determine your size according to your particular pattern. Determining your size allows you to look up how much fabric you’ll need to complete the project. Most fabrics for sewing clothes come in two widths – 45″ or 60″. If you’re buying fabric from a bolt at the store, the cardboard insert will almost always have a label on it to tell you the size.
FINISHED GARMENT MEASUREMENTS
The finished garment measurements tell you the measurements your finished piece of clothing will be, so grab a favorite, similar item that you know fits you well, and compare the measurements to help find your best pattern size.
SUGGESTED FABRICS
Whether you’re following a pattern for a bag, cushion or a dress, the pattern will likely come with a list of suggested fabrics. It’s always best to choose your fabric based on the pattern’s suggestions. Your pattern will have been tried and tested with those specific fabrics and will set you up for success. You may well have fallen in love with that gold, iridescent lamé, but if it’s not on the list, you’ll have to save it for another project.

You should always wash your fabric first if you’re making clothes. Fabrics usually have some natural shrinkage after their first wash, so you want that to happen before you sew it up. After washing, make sure to iron out the creases.
NOTIONS
Notions listed on the envelope are any extra supplies you’ll need to finish the item, such as buttons, zippers or hook and eyes. Beginner sewing projects tend to need fewer notions, but you’ll want to check and make sure you have everything you need before you start. There’s nothing worse than getting completely engrossed in a project only to have to interrupt the flow because you have to run to the store to pick up something you forgot you needed.
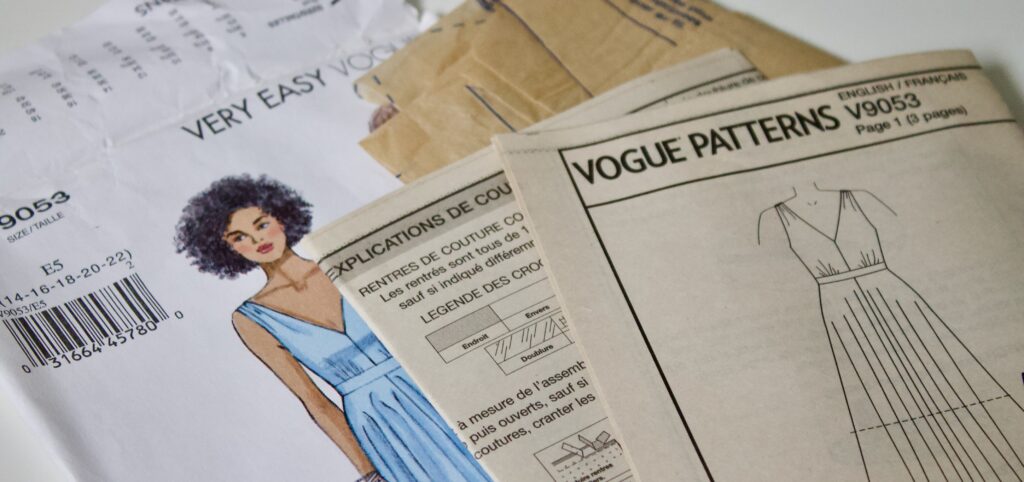
Opening the envelope
If you’re using a commercially produced pattern, the envelope will contain a bundle of folded papers which you will never be able to refold as neatly as when you first got them. The very thin tissue paper is the pattern. The sturdier, newsprint papers are the instructions. Downloadable patterns also come in two parts – the pattern pieces and the instructions. You should spend some time reading through the instructions before starting the sewing project and familiarizing yourself with the pattern markings and cutting layouts.
Pattern markings
In any pattern, there’s usually a guide to the pattern marking that will. be required for your particular project. Here is an explanation of some of the most common ones.
GRAINLINE – A fabric’s grain is the direction the threads of the fabric are woven. Beginner patterns are typically placed on a straight grain, meaning that the grainline pattern markings will be parallel to the selvedge edge (the bound edge with the designer’s info printed on it) of the fabric.
FOLDLINE – You will often be told to fold your fabric before laying out your pattern pieces. The foldline pattern marking will require you to place the marking against the folded edge of the fabric.
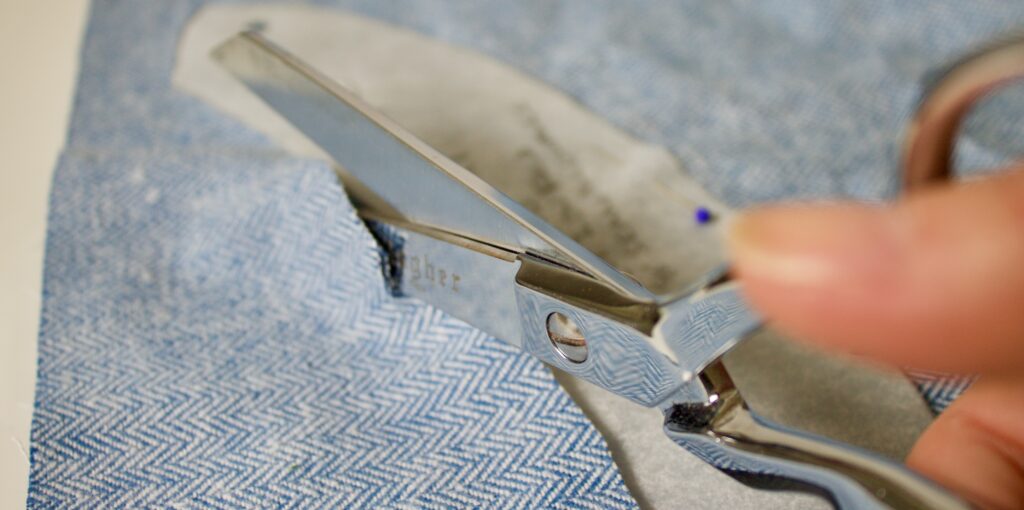
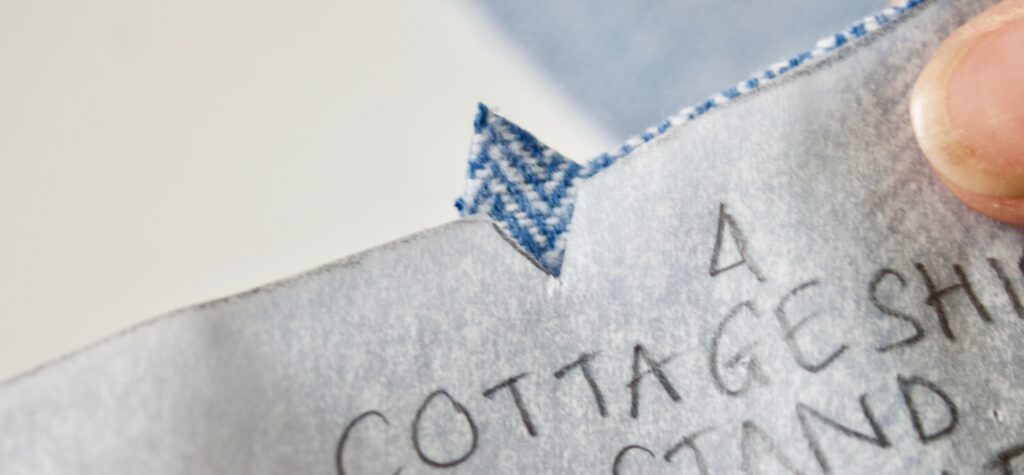
NOTCHES – Whilst some pattern markings are transferred to the fabric with tailor’s chalk or soluble marker, other pattern markings such as notches, are transferred by cutting into the fabric itself. You’ll be thankful for notches when it comes to matching to pattern pieces together – you simply match the notches and the rest of the pattern pieces fall into place. To cut out notches in your fabric, cut little triangles out of your fabric as accurately as possible. Sometimes switching to a small pair of scissors helps with detail cutting.
LENGTHEN/SHORTEN LINE – Usually depicted by two straight lines, the length/shorten line shows you where you can change the length of your pattern piece without effecting the overall structure of your project. To lengthen a pattern piece, you will cut between the lengthen/shorten lines and add the extra inches you need with a piece of paper and tape in place. To shorten a pattern piece, you will make a pleat in the pattern piece, removing any extra inches you don’t need and tape in place.
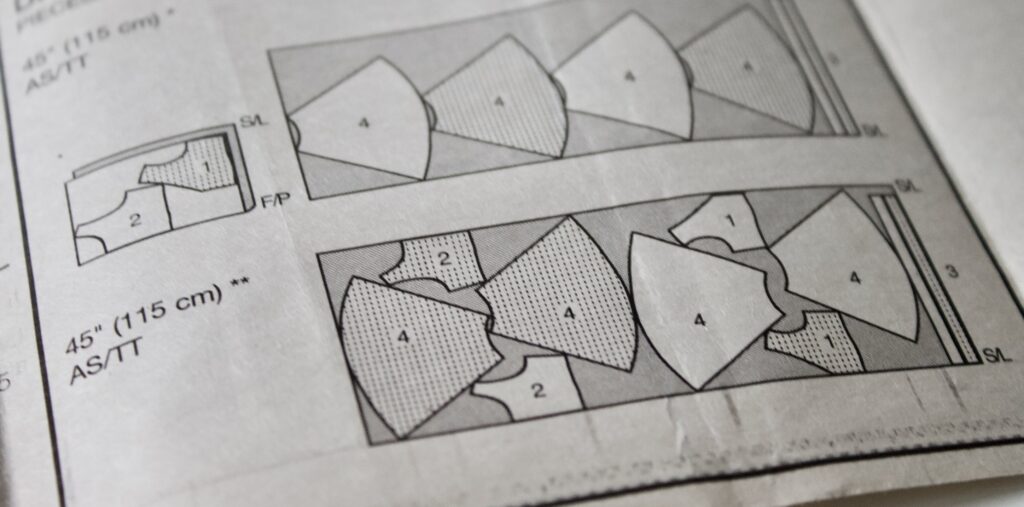
Cutting layout
Most pattern instructions will include details on how to lay out the pattern pieces on the fabric. This will be the most economical way to use your fabric and will ensure all the pieces fit within the fabric yardage for your chosen size. There will usually be a key in the instructions to show you which is the right side and wrong side of the fabric in the cutting layout diagrams. The right side of the fabric is the side with the design visible. The wrong side is the back of the fabric. Pay careful attention to the folded edge and selvedge edges of the fabric in the diagrams, as they will be important for laying out your pattern pieces. Most instructions will offer cutting layouts for 45″ wide fabric as well as 60″ wide fabric. It can be helpful to highlight the directions that are specific to your project with a pencil (don’t use a highlighter as the paper is so thin it’ll likely bleed through to the back and obscure some important steps).
Seam allowance
For every sewing pattern you undertake, you will want to check the pattern’s stated seam allowance. They are typically around 5/8″, which means you will sew your seams 5/8″ away from the raw edge of the fabric. Most sewing machines have a useful guide to help you ensure accuracy.
Preparing your pattern pieces
Now that you’ve made your fabric (and notion) purchases, examined the back of the pattern envelope and looked through the instructions, you’re ready to prepare your pattern pieces. And you have a choice to make. You could just locate your pattern size (sizes are marked with different line styles for easy identification) and cut out your size. This method is fast and simple but has its disadvantages. You will not be able to use any other sizes contained in the pattern in the future since they will have been destroyed when you cut out your size. On top of that, if you happen to fall in love with your finished project and want to make the same item time and time again with adjustments, the tissue paper is so fragile it will quickly deteriorate and it’ll soon become unusable.
The other option is to trace your pattern piece, leaving the original tissue paper pattern in tact. You can use any kind of tracing paper (taping sheets together if necessary) but a favorite among sewers is Swedish Tracing Paper. This kind of tracing paper does not tear and will not wear out. Tracing your pattern pieces is certainly more time consuming but you’ll be able to reuse them over and over again.
If you decide to trace your patten pieces, make sure you transfer ALL pattern markings to the tracing paper.
Cutting your fabric
Clear and clean a large worksurface, kitchen counter, dining room table or hardwood floor. Lay the pattern pieces on top of the fabric according to the suggested layout. Some people like to pin the pattern pieces to the fabric and use scissors to cut them out. Others like to use pattern weights, which are typically small cloth sacks filled with weighted material to make them heavy. If you decide to use pattern weights, you’ll need to invest in a cutting mat and rotary cutter instead of scissors. For your first project, pins and scissors are the cheapest and easiest option.
Transferring pattern markings
As you cut out your fabric, leave the pattern pieces attached because the final step in preparing to make your project is to transfer any pattern markings. Whilst notches are cut into the fabric, other markings will need to be transferred onto the fabric using tailor’s chalk or water soluble fabric marker or using a sheet of dressmaker’s carbon paper and a tracing wheel. For a beginner, a piece of tailor’s chalk is the cheapest and easiest option. Transfer pattern markings onto the wrong side of the fabric before removing the pattern piece.
Making your project
Commercial pattern instructions are usually very well written, but they can sometimes seem confusing or ambiguous to the beginner sewer. The internet is a fantastic resource if you need extra support with your project and a simple google search of the pattern company/number will often yield numerous bloggers and sewers who have attempted the same pattern. YouTube is a fantastic place to get video tutorials of particular techniques and stitches.
Downloadable, print at home pattern designers usually go above and beyond to make their patterns successful. Check online for sewalongs or tutorials, that often go much more in depth in explaining the directions than the information sheets.
Now you’re ready to tackle your first sewing project! Enjoy the process – even the multiple steps you have to go through before you actually make your first stitch. All the preparations you make before starting will set you up for a successful first experience.