I’m not a trained artist but I do really enjoy creating colorful canvases for my walls with paint, and I have a few favorites hanging up around our house. A while ago I decided to take my art a bit further and had copies of past projects printed onto fabric that I then sewed into a scarf. I’m going to walk you through the process so that you too can design your own scarves and create wearable art.
Start with your art
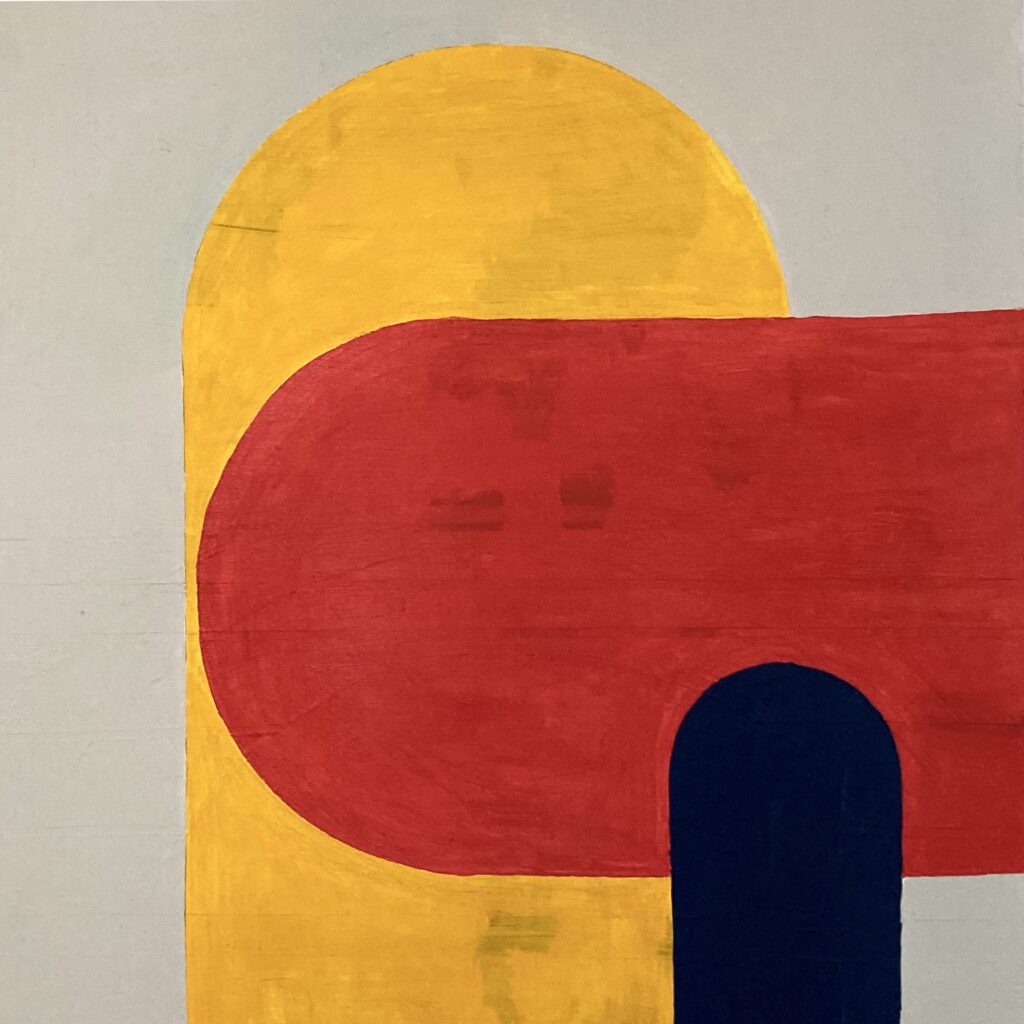
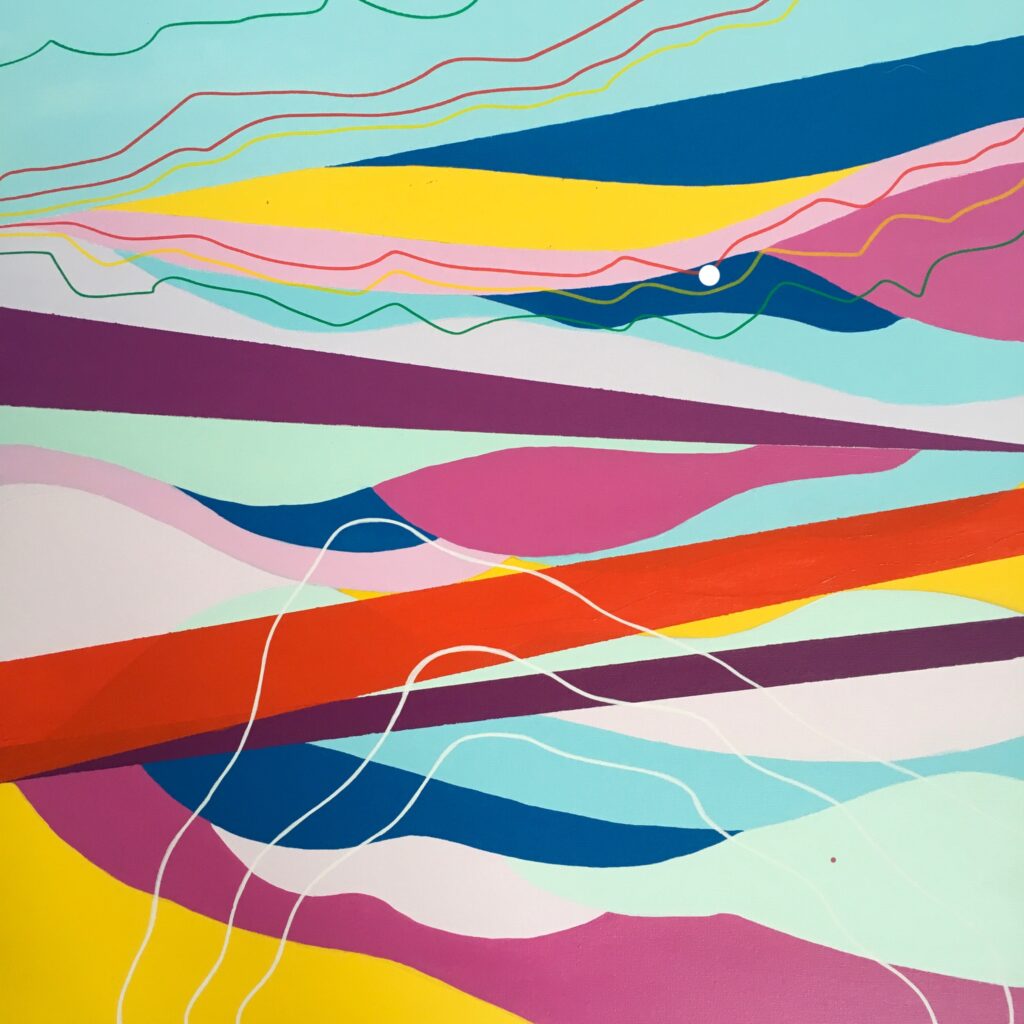
I like to create art on simple canvases using acrylic paints. I sometimes pick a color palette from a picture or photo I’ve seen that inspires me. Other times I select colors from within my paintbox and just go for it. Over the years, I’ve learnt to trust my instincts and the creative process. There’s very little that can’t be undone, covered up or erased and, as a natural perfectionist, I’ve learnt to let go and experiment. Not everything turns out brilliantly, but that’s all part of the learning process. There’s a freedom in art and it’s true that there really are no mistakes. Recently I’ve been inspired by the murals that have been appearing on walls and buildings in and around most cities and towns. I’m drawn to the bold, abstract designs and bright colors. As well as acrylic paints, I’ll experiment with paint pens – Posca Pens are the best! – glitter and gold leaf.
Digitize your art
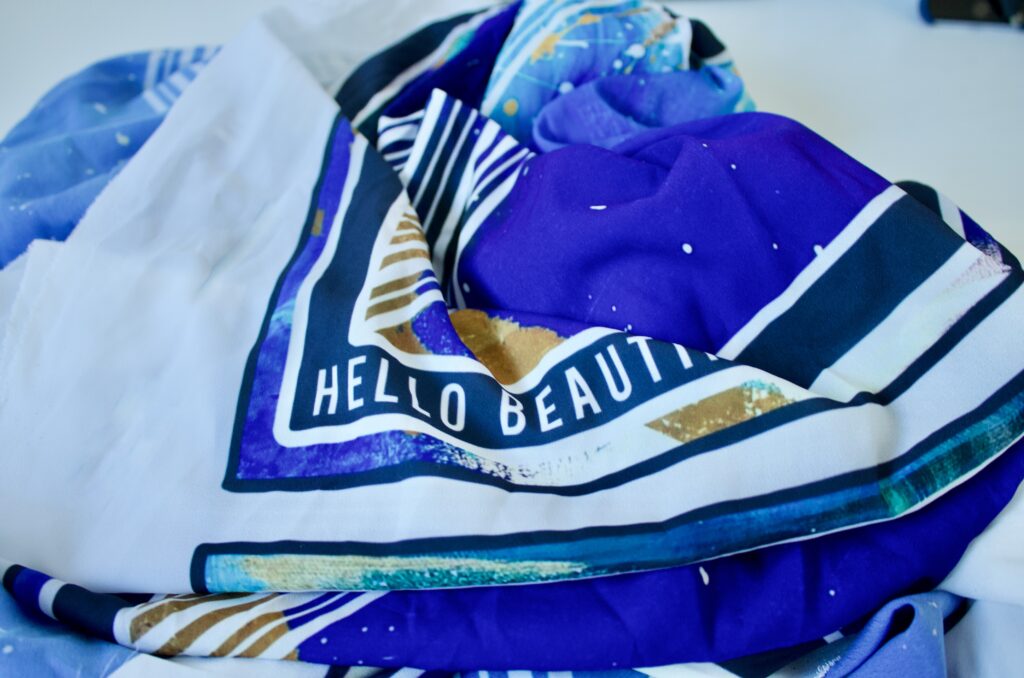
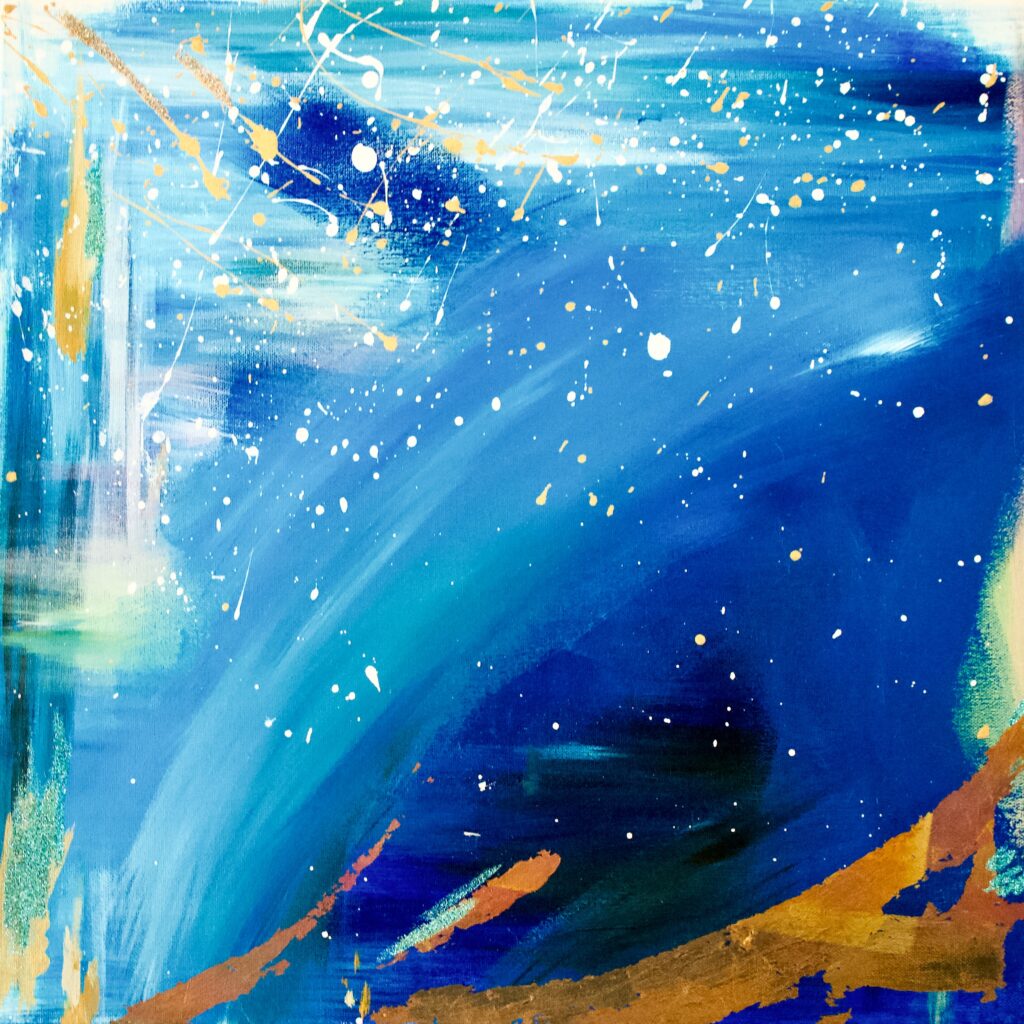
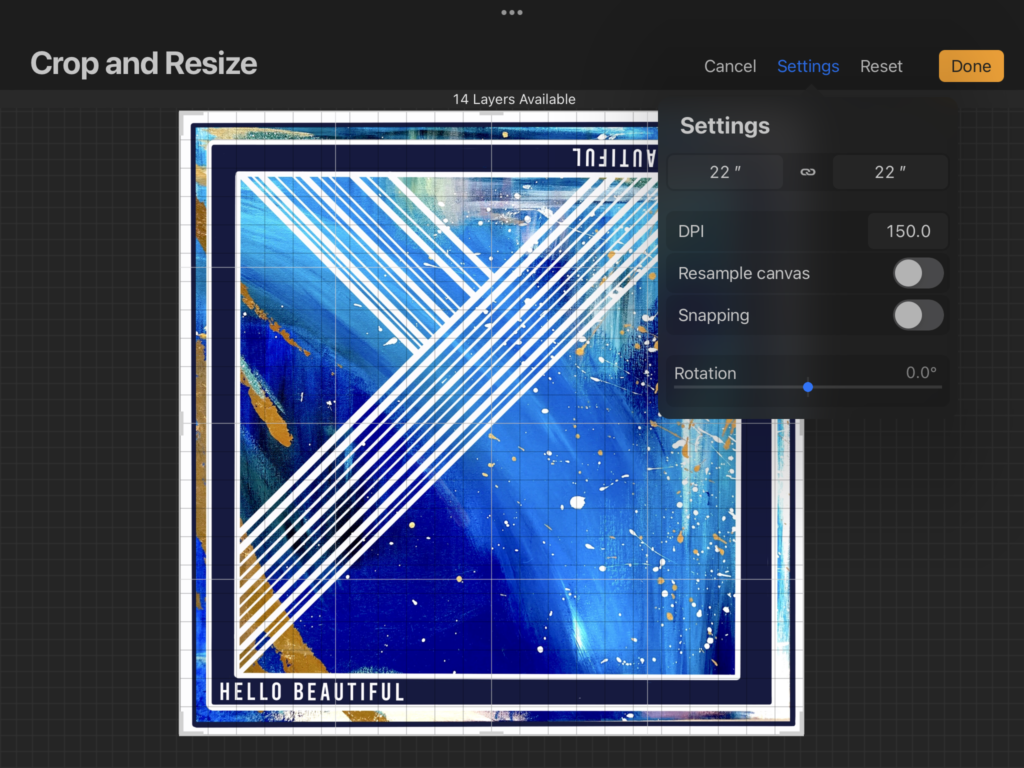
Above examples are copies of paintings I have made on canvas. I took photos of them and transferred them onto my iPad. I like to use the ProCreate app for editing my art. It’s really an amazing tool and has given me so many ways to be creative. You can add layers to the art and really experiment with different ideas. Among all my completed canvases, I selected the piece I wanted to be printed onto fabric. Here’s my original art work (as it looks hanging on the wall in my dining room) as well as my finished design after I played around with it in Procreate. As you can see, I added a couple of borders, line designs and wording. I knew I wanted to make my design into a scarf so I thought the boarders would help give the finished scarf shape and definition.
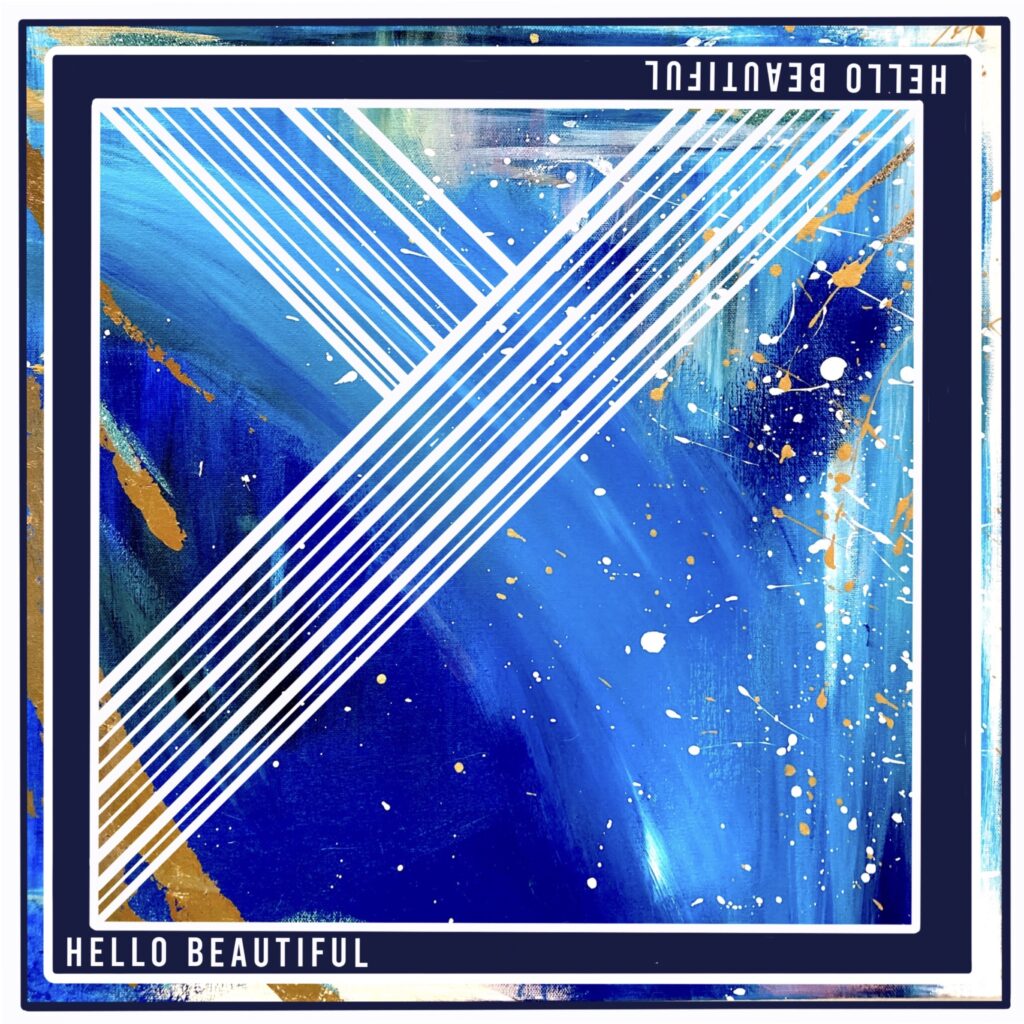
In Procreate I set my canvas size to 22″ x 22″ as this would be my finished scarf size. I set the resolution to 150 dpi, which is usually recommended for uploading designs.
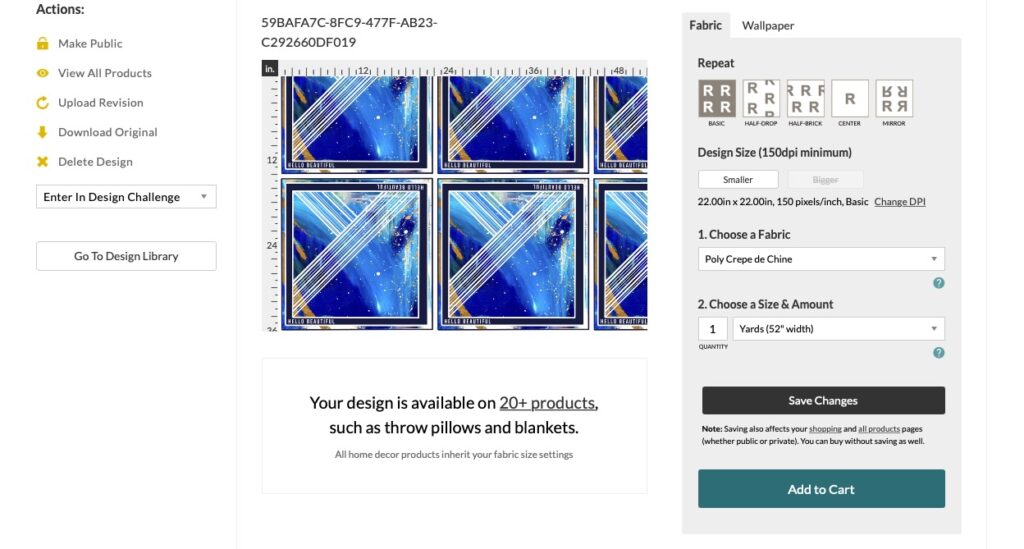
Next I used my favorite fabric printing company Spoonflower to print my design onto poly crepe de chine. Although it’s not 100% silk, it has a beautiful, delicate drape and is lovely to work with. Spoonflower has a huge variety of different fabric so although I wanted to make a scarf, you could make an endless number of projects with the fabrics available.
Upload your design
Create an account in Spoonflower and upload your design. Then select the fabric type and yardage. After sewing a rolled hem, my finished scarf is a little under 22″ x 22″. It’s a large bandana size. I could fit 2 complete scarf designs onto 1 yard of fabric (one scarf for me, one for a gift!) but you can adjust your scarf size in Procreate to your specific requirements.
Sew your scarf
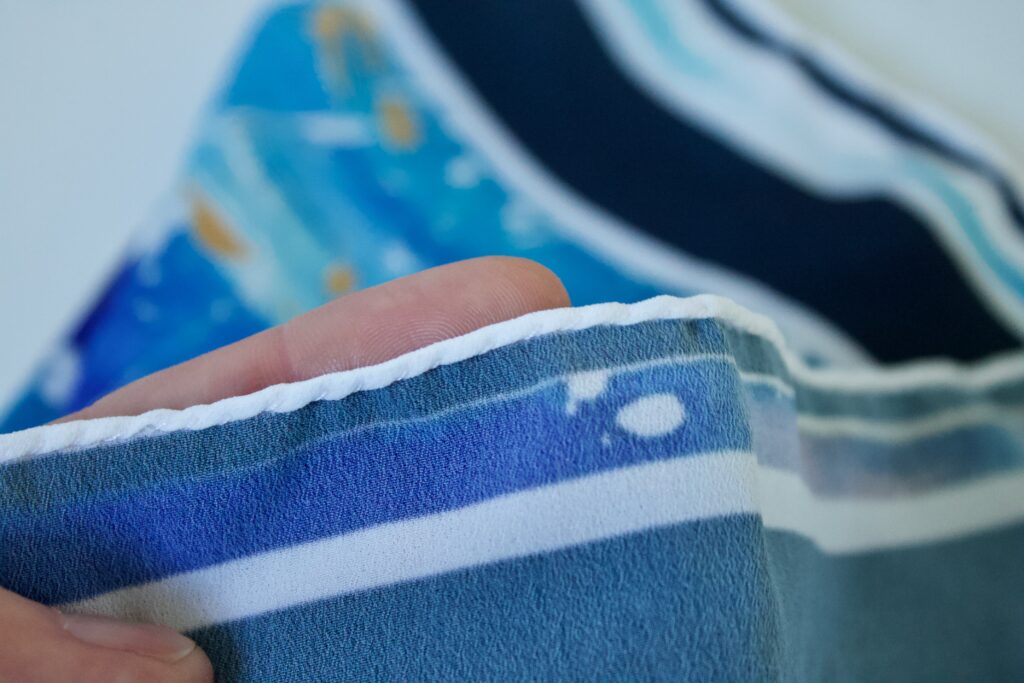
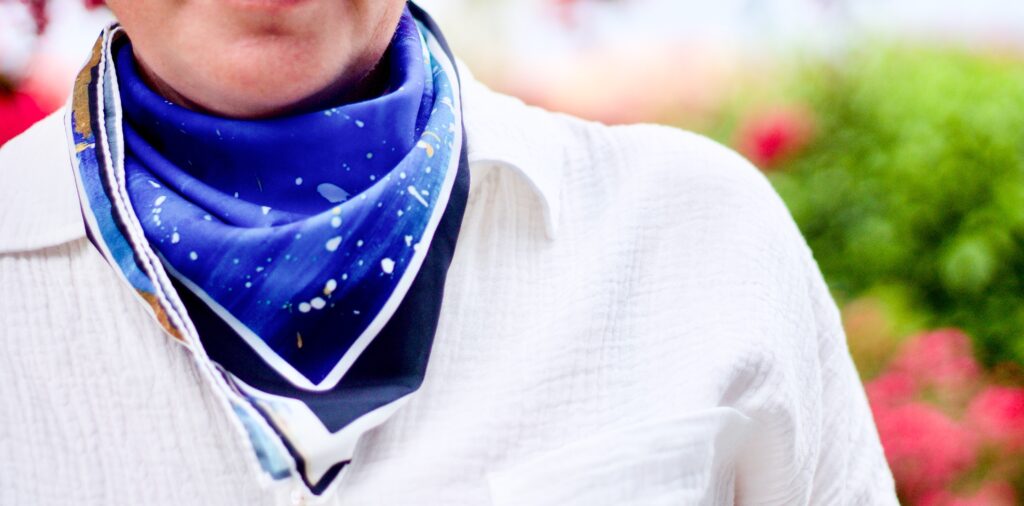
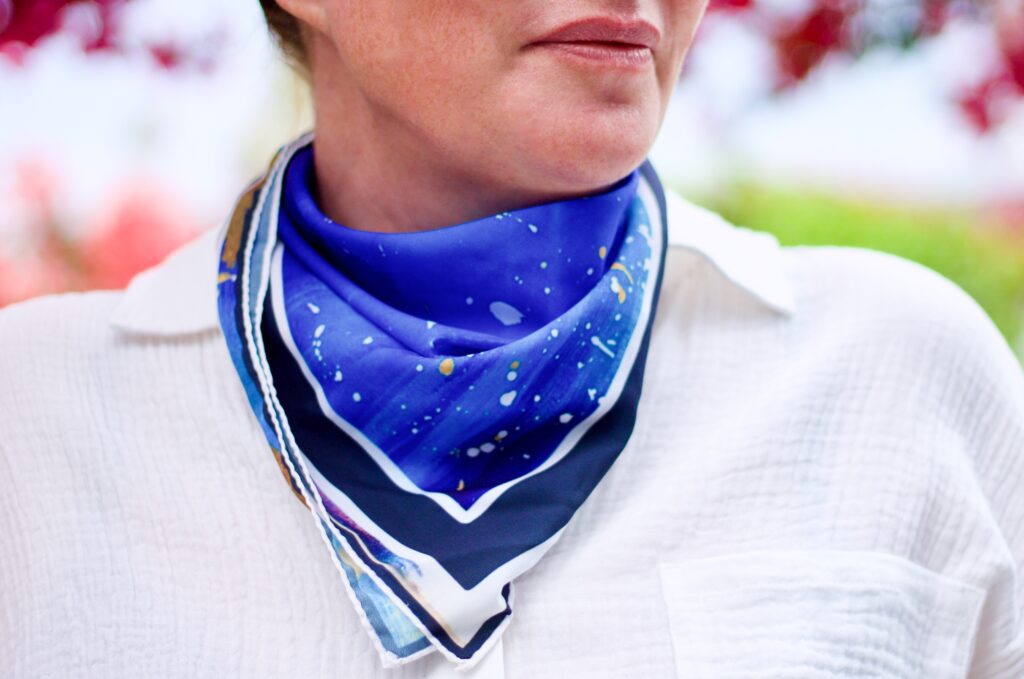
It doesn’t take Spoonflower long to print and ship your fabric to your home. I was so impressed with the clarity and richness of the colors, not to mention the way the fabric feels to the touch. It feels quite luxurious next to your skin. I cut my design out with a pair of sharp scissors and hand sewed a rolled hem around the perimeter to finish it off. A hand rolled hem is a must have for a sophisticated finish to a custom made piece. I’m so happy with my scarf and its unique design. It’s a fun way to use your art in a practical way and for me, it’s definitely opened my mind up to creative possibilities.